This article will explore the methods to install SVN on your Ubuntu and similar Linux distros such as Debian, Mint OS, Pop OS, and many more. If you wish to delete or uninstall SVN from Ubuntu or other Linux distros, you can also find the steps to do so in this tutorial.
What is SVN?
SVN or Apache Subversion is an open-source centralized version control system. It is engineered to handle small and large projects efficiently. Git is another popular version control system nowadays, but a significant number of projects still use Subversion. You should also check out our Awesome guide to Install Kodi on Ubuntu.
Pre-Requisites
We need to install apache on our system before installing SVN since we will be accessing all SVN repositories through HTTP. You can install Apache by using the following command.
sudo get apt-update
sudo apt-get install apache2
After installing Apache, we don’t need to install any other repository to install SVN on Ubuntu. We can install SVN with the help of below two methods:
Install SVN on Ubuntu
Install the subversion packages and their dependencies by executing the following command. You will also need to install the svn module for Apache libapache2-mod-svn packages on your system.
sudo apt-get install subversion libapache2-mod-svn libapache2-svn libsvn-devThe above command will also install svn module for Apache libapache2-mod-svn packages on your system. After the successful installation, use the following command to enable required apache modules and restart Apache services.
sudo a2enmod dav dav_svn
sudo service apache2 restart
Alternative Method
You can also follow the process mentioned above or write the following command in the terminal.
sudo apt-get install subversionCreate First SVN Repository
To begin with, we will create a directory where we will be storing all our SVN repositories. Additionally, we need to grant the necessary permissions to the newly created directories. We can do it by inputting the following commands.
sudo mkdir -p /var/lib/svn/
sudo chown -R www-data:www-data /var/lib/svn
sudo chmod -R 775 /var/lib/svn
The next step will be to create a repository using the following commands:
sudo svnadmin create /var/lib/svn/myfirstrepoCreate first svn user in /etc/apache2/dav_svn.passwd file. SVN repositories will use these credentials to checkout and commit operations.
sudo touch /etc/apache2/dav_svn.passwd
sudo htpasswd -m /etc/apache2/dav_svn.passwd admin
Furthermore, We need to create some users that have access to the SVN repository. You can do it by typing the following commands in the terminal.
sudo htpasswd -m /etc/apache2/dav_svn.passwd user1
sudo htpasswd -m /etc/apache2/dav_svn.passwd user2
Our directories are now ready; the only thing we need to do is configure the Apache server. Open the following file and make necessary changes to it.
sudo vi /etc/apache2/mods-enabled/dav_svn.confApache httpd
Alias /svn /var/lib/svn
<Location /svn>
DAV svn
SVNParentPath /var/lib/svn
AuthType Basic
AuthName "Subversion Repository"
AuthUserFile /etc/apache2/dav_svn.passwd
Require valid-user
</Location>Save the file. To implement changes, we must restart Apache by the following command.
sudo systemctl restart apache2Access Repository in Browser
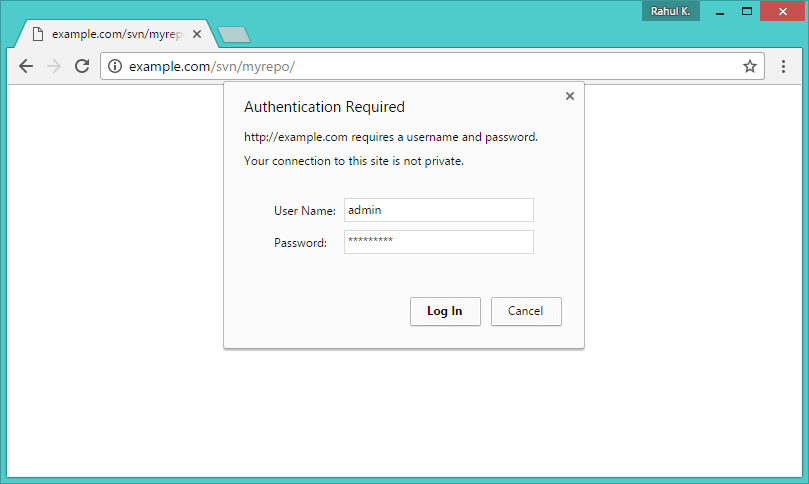
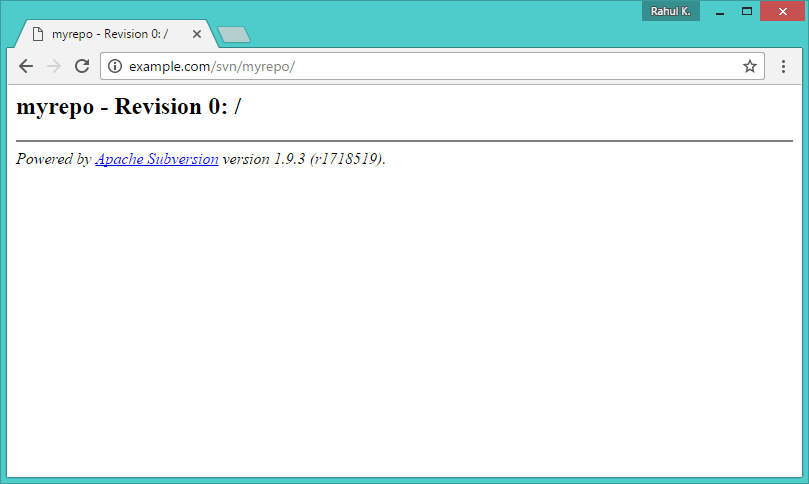
Open your browser and enter your SVN URL. For example –
http://example.com/svn/myrepo/

Change http://example.com/svn/myrepo with your system hostname, domain name, or IP address. A prompt will appear to ask for your credentials. Once the authentication has been successful, we can access the data in the repository. You can learn more use cases of SVN on their Official Website.
You May Also Like – The Ultimate Guide To Install Java 9 on Linux
Uninstall SVN on Ubuntu
After a while, if you don’t need SVN or wish to remove it, The following commands will guide you to uninstall SVN.
sudo apt-get remove subversionInput the following commands on your terminal to completely uninstall SVN
To remove all the dependencies,
sudo apt-get remove --auto-remove subversionTo remove the log files, type the following command
sudo apt-get purge subversionFor complete removal, input the following command.
sudo apt-get purge --auto-remove subversionWrapping Up
This tutorial explored different methods to install SVN on Ubuntu and Linux distros such as Debian, Mint OS, Pop OS, and many more. If you encounter any issues, share them in the comments section, and I would be more than happy to assist you.

