Java is being used to develop applications for the longest time. We will be exploring the methods to install Java 9 on Linux distributions such as Ubuntu, Debian, Linux Mint, and many more. We have also covered the ways to uninstall in the future If you need it. So, Let’s get started without any further ado.
What is Java 9?
Java is known for its cross-platform compatibility. The JDK (Java Development Kit) is a key platform component for building Java applications. At its heart is the Java compiler. Due to its fast, reliable, safe, and secure nature, millions of applications and websites rely on the Java platform. As of today, Java is found everywhere, from desktops to data centers, televisions, and game consoles to laptops, cell phones, and the Internet, etc.
Java 9 includes various updates compared to its predecessor, including upgrades to Java programming, tools, and libraries. It comes with a new platform module system, also known as Project Jigsaw. To make Java 9 more lightweight, JDK itself has been divided into modules. We can also develop modular applications with it. So, Let’s dive into the process to Install Java 9 on Linux.
Developing Java applications requires installing JDK. There are two options to install JDK on any operating system. One is OpenJDK (Open Java Development Kit), and OracleJDK (Oracle Java Development Kit).
Oracle JDK
The Oracle team maintains it. It is available in both free and commercial versions under the Oracle Binary Code License Agreement. It is basically better in comparison to developing commercial Java Apps. You should also try Minecraft on Ubuntu.
Open JDK
It is an open-source alternative for Oracle JDK and is completely free to use. Through the contribution of open source developers, the source code is constantly improving.
This tutorial will guide you on installing both OpenJDK 9 and Oracle JDK 9 on your Ubuntu systems and shed some light on how to uninstall Java 9.
Install Oracle JDK 9
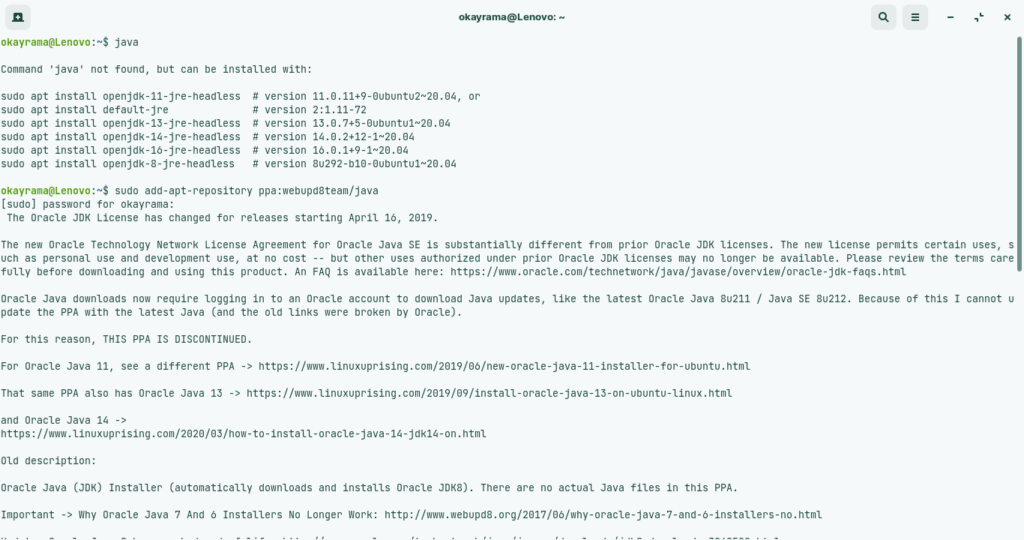
Ubuntu doesn’t come with a default JAVA version, but if you have downloaded it previously, you can check it by executing the following command; you can have multiple versions running on your machine.

javaStep 1 – The easiest way to install Oracle Java 9 is via a third-party repository. To add that repository, run the following command.
sudo add-apt-repository ppa:webupd8team/javaStep 2 – You will see a prompt to accept the PPA (Personal Package Archive) key, accept it. Now that the above repository has been added to your Ubuntu machine, execute the following commands.
sudo apt update
sudo apt install oracle-java9-installer
A box will pop up which will request permission for accepting the license terms; after clicking yes, The Oracle Java 9 will be successfully installed on your machine.
Step 3 – If you want to set it as default, you need to install the oracle-java9-set-default package. This will also automatically set the environment variable for Java.
sudo apt install oracle-java9-set-defaultJava 9 is now the default JDK version of your system.
Step 4 – To verify the installation, you can execute the following command.
java -version
Install Open JDK 9
Step 1 – Now, before installing Open JDK 9 on your Ubuntu machine, first download the Open JDK 9 tar distribution from here. . You can also download with the help of the below button.

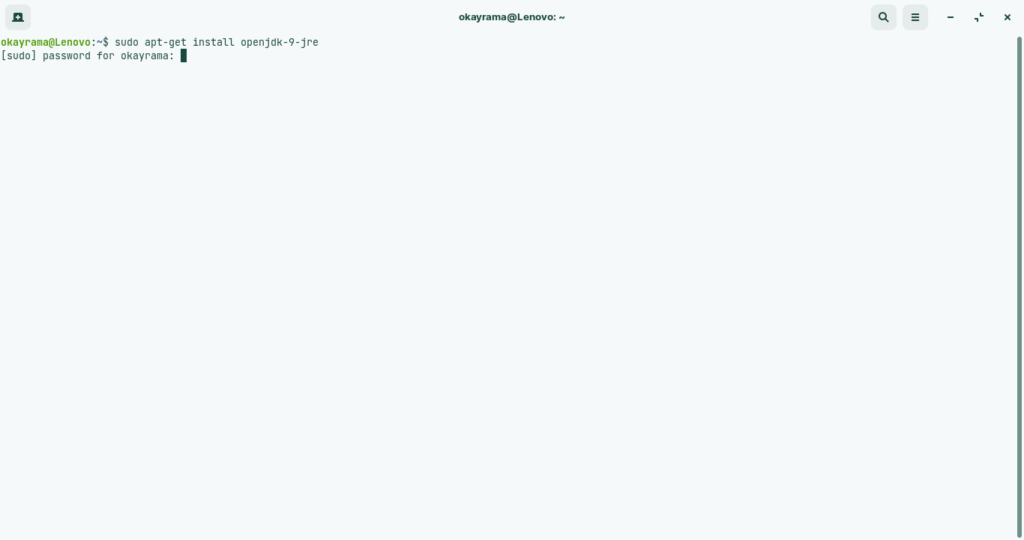
Step 2 – After downloading it, execute the following command to install Open JDK 9 on your machine.
sudo apt-get install openjdk-9-jre

sudo apt-get install openjdk-9-jdk
Step 3 – After completing the above steps, we need to configure it by setting ‘JAVA_HOME’ and ‘PATH’ environment variables. Please make sure that your environment variables point to the installation of JDK on your Ubuntu machine. To set, run the following commands on your terminal.
export JAVA_HOME=/usr/lib/jvm/openjdk-9-jdkStep 4 – to add the JAVA bin directory to the PATH variable, execute the following command.
export PATH=$PATH:$JAVA_HOME/binStep 5 – To check if the following package is working properly or not, you can execute the following command on your terminal.
java -versionBoom! You are all set to do wonders in the field of development using Java 9.
Also Read – How to Install TeamViewer on Ubuntu
Uninstall Oracle JDK 9
Step 1 – First of all, what you need to do is remove the link. You can do this by running the following commands.
sudo update-alternatives --remove "java" "/usr/lib/jvm/jdk[version]/bin/java"
sudo update-alternatives --remove "javac" "/usr/lib/jvm/jdk[version]/bin/javac"
sudo update-alternatives --remove "javaws" "/usr/lib/jvm/jdk[version]/bin/javaws"
Step 2 – Remove the package from the following path /usr/lib/jvm
sudo rm -r /usr/lib/jvm/jdk9Now you have successfully uninstalled Oracle Java 9 from your Ubuntu system.
Uninstall Open JDK 9
Step 1 – To remove OpenJDK 9 from your system, just run the following commands.
sudo apt-get autoremove openjdk-9-jre-headless

sudo apt-get remove default-jdk

sudo apt-get purge openjdk-9-jre-headless gcj-4.9-jre-headless
This will completely uninstall the OpenJDK9 from your machine.
Verdict
This tutorial explored different methods to Install Java 9 on Linux distributions such as Ubuntu, Debian, Linux Mint, and many more. By following the simple steps in this tutorial, you can install both OpenJDK9 and OracleJDK9 on your machines.
If you encounter any issues, share them in the comments section, and I would be more than happy to assist you.
Also, I have shared the steps to delete or uninstall Java 9 from Linux distributions such as Ubuntu, Debian, Linux Mint, and many more, just in case you need it. Subscribe to our weekly newsletter to get similar posts straight to your inbox. We hate spamming too!!

