WordPress Installation is still a confusing task for so many beginners. With the help of this tutorial, we will explore ways to install WordPress on CentOS 7 and other similar distros such as RHEL, Fedora, and many more in an effortless manner. So, Let’s get started without any further ado.
What is WordPress?
WordPress is an open-source software one can use to develop any website. It is one of the best platforms to write blogs. It will also help you to organize your posts and pages.
WordPress allows you to include different themes to give you the flexibility to edit your WordPress. You can also have various plugins to customize your website and make it creative. This website is also built on WordPress.
WordPress is a simple Content Management System. The best thing about it is the ease of using and change things as per your requirements. Practically anyone can handle WordPress pretty well.
The following guide demonstrates how to install WordPress on CentOS 7 using an Apache webserver.
Pre-requisites
Make sure you have a LAMP stack ( Linux, Apache, MySql, PHP) installed on your machine for this installation. To install LAMP, you need to refer to the following Tutorial. You also need to execute all commands as a non-root user with sudo privileges. Using sudo, we can execute system commands with root privileges using our account and password.
You can then proceed to the method to install WordPress on CentOS 7 after you have completed these steps.
Note: The PHP version should be the latest as with the newer version of WordPress, you will get the error “WordPress requires at least PHP version 5.6. I will suggest you use 7.4“
Create a DataBase
For our WordPress website, we’ll need to set up a database. WordPress uses a relational database to manage the content, We have a fork of MySQL (MariaDB) installed already (part of the LAMP stack), which can provide this relational functionality. Still, we need to make a database and a user for WordPress to work with.
To create a database, login to the MySQL server by the following command,
mysql -u root -pAs soon as you install MySQL, you will be prompted for your root account password. When you enter the password, you will see a MySQL command prompt.
After successful login, we need to create a database for the user. We can choose any name, this time, we are using DB.
CREATE DATABASE DB;Keep in mind every SQL statement ends with a ; :
Now we need to create a user so that we can operate on the database. For creating the user, execute the following command:
CREATE USER adminuser@localhost IDENTIFIED BY 'password';Please make sure you remember your user id and password as we need them later. We have successfully created a user, but we still need to give the user all the permissions to access the database. To do so, execute the following:
GRANT ALL PRIVILEGES ON DB.* TO adminuser@localhost IDENTIFIED BY 'password';To make MySQL aware of these changes, we need to flush them. Do so by writing the following command:
FLUSH PRIVILEGES;Now exit MySQL by the following command:
exitInstalling WordPress
We need to install wget as we need to download the tar package. (wget is a command-line utility for downloading files from the web.) If you have already installed wget, you can skip this step.
To download, execute the following command on the terminal:
yum install wgetWe also need a PHP module before we download WordPress. Otherwise, WordPress would not be able to resize images to create thumbnails. To download, write the following command:
sudo yum install php-gdRestart the apache, so that it can recognize the new module that we have installed:
sudo service httpd restartWe need to download WordPress; we can get the most up-to-date version of WordPress by typing the following URL. Check The Latest Version of WordPress by clicking Here. The URL will always be the same as WordPress always links the most recent build of their software.
wget http://wordpress.org/latest.tar.gzAfter the download has been finished, you need to extract the package by the following command:
tar -xvf latest.tar.gzThis will create a file named WordPress in our home directory. Move the folder along with its contents to the public_html folder to serve up content to our website. This can be done by
sudo rsync -avP ~/wordpress/ /var/www/html/Here, we have transferred our files using rsync to protect our file default permissions. After the following execution, add a folder for WordPress to store uploaded files. Do so by the following mkdir command:
mkdir /var/www/html/wp-content/uploadsChange the ownership of the files so that WordPress can access all the files with the appropriate permissions. We can do it by using chown command:
sudo chown -R apache:apache /var/www/html/*Configure WordPress
To connect to the MySQL database, we need to configure WordPress. Let’s navigate to the HTML folder where your WordPress installation is.
cd /var/www/htmlExecute the following command to make a wp-config.php file by copying the sample file WordPress has provided.
cp wp-config-sample.php wp-config.phpNow edit the configuration file by some text editor like nano or vim. To open it in nano, write the following command:
nano wp-config.phpWe will change only those parameters that hold our database information. To get WordPress to connect to and authenticate to our newly created database, we’ll need to find the MySQL settings section and change the DB_NAME, DB_USER, and DB_PASSWORD variables. It should look like this.
/** Name of the database */

define('DB_NAME', 'DB');

/** Username of MySQL database */

define('DB_USER', 'wordpressuser');

/** Password of MySQL database */

define('DB_PASSWORD', 'password');
Save and close the file after completing the above process.
Although we have now installed WordPress & partially configured it, we have yet to host the website and do the remaining configuration from the browser.
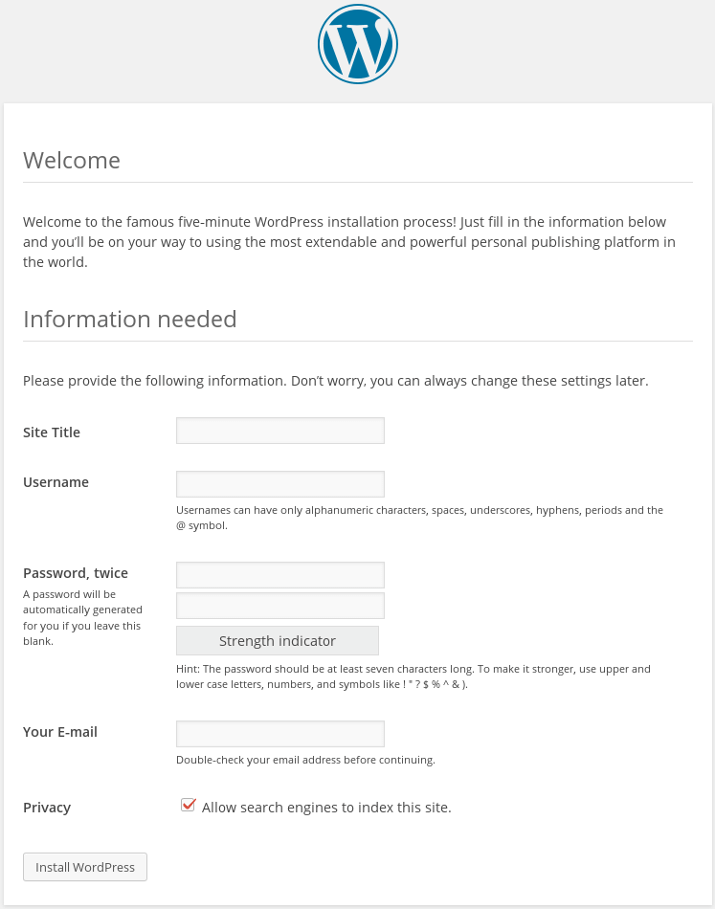
To get started, open a browser and type the following URL:
http://localhost/wordpress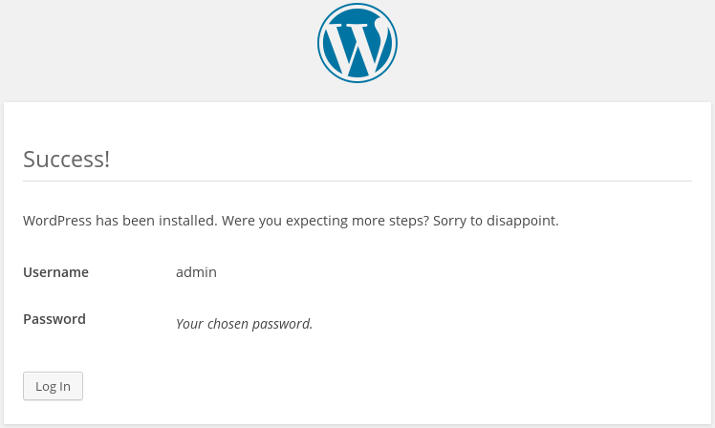
Enter the site title, email account, password, and other credentials. After entering all the necessary information. Click on the ‘Install WordPress’ button. After some seconds, you will get a pop-up with a confirmation message.
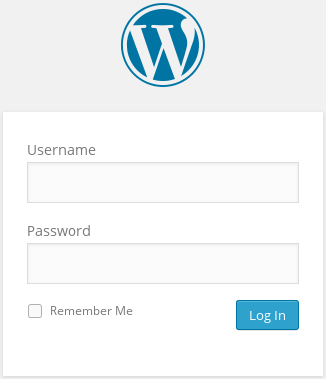
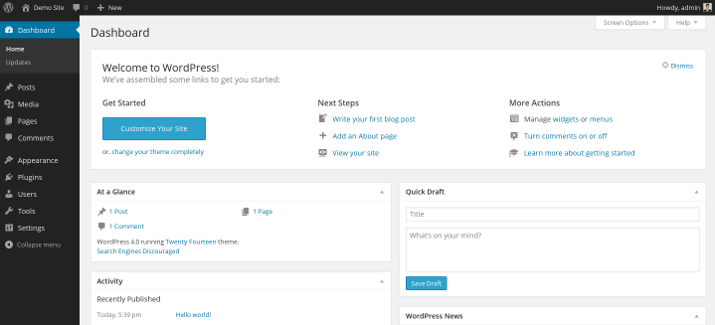
Now login to the WordPress dashboard by clicking the ‘login’ button. Your browser will redirect you to a new page where you must enter your username and password. Here you can upload articles, post and you can also customize with various plugins and themes.
Wrapping Up
This tutorial explored different methods to install WordPress on CentOS 7 and other similar distros such as RHEL, Fedora, and many more. If you encounter any issues, share them in the comments section, and I would be more than happy to assist you.

