The article will illustrate How to Install Minecraft on Ubuntu, Debian, Linux Mint, and Ubuntu-based Distributions such as Elementary OS, Pop OS, Zorin, and many more. It has been a craze for almost 9-10 years now, but for anyone who hasn’t heard of it. Without any further ado, Let’s get started!
About Minecraft
Minecraft is a sandbox video game developed by the Swedish video game developer Mojang Studios. Minecraft is a game in which players create and destroy blocks in a three-dimensional environment. There are two main game modes: Survival and Creative. The purpose of the game is simply to build and explore and most importantly survive. Know more about Minecraft.
Who can play?
The game can be played alone or online with other players. There are thousands of Minecraft online games (servers) that players can connect to, some of which include battles with other players. It is possible to play a multiplayer game with up to 30 players on any supported platform. Now let’s further move on to the installation guide on your Ubuntu machines. Learn How to Install uTorrent on Ubuntu, Debian, Linux Mint [μTorrent].
Install Minecraft
Method 1- Install Minecraft on Ubuntu using the Official Package

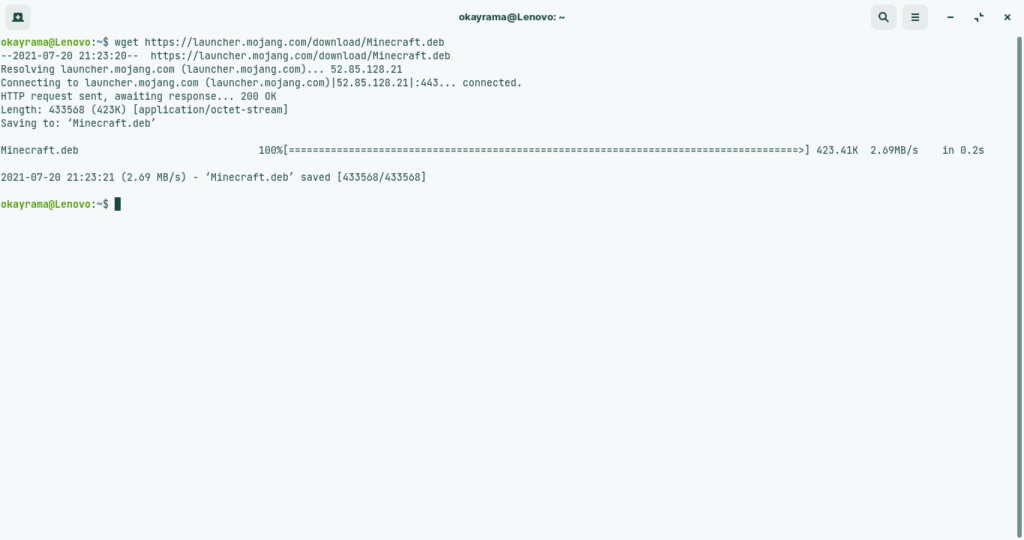
Step 1 – To start with, we need to do is download the official .deb package. To do so, open a command-line terminal by pressing Ctrl+Alt+T on your keyboard and then enter the following command:
wget https://launcher.mojang.com/download/Minecraft.debStep 2- Once the download has been finished, execute the following command in the terminal.
sudo dpkg -i Minecraft.debStep 3 – If You encounter any errors regarding missing or broken dependencies after running the above command. In order to solve these dependencies or errors, enter the following commands into the Terminal:
sudo apt -f installThe above command will install the missing dependencies and fix the broken ones.
The system may ask if you still wish to move forward with the installation. Continue pressing Y to install the required package. Once that is done, your system will be ready.
Also Read – How to Install ADB and Fastboot on Ubuntu, Debian, Linux Mint
Method 2 – Installing Minecraft using Snap
There is also a snap package available that includes Minecraft and all its dependencies but first, you need to install snap before installing Minecraft on your system.
Installing Snap
If you’re using Ubuntu 16.04 LTS (Xenial Xerus), Ubuntu 18.04 LTS (Bionic Beaver), Ubuntu 18.10 (Cosmic Cuttlefish), and Ubuntu 19.10 (Eoan Ermine), you don’t have to do anything. We have Snap already installed and configured.
For users having Ubuntu versions between 14.04 LTS (Trusty Tahr) and 15.10 (Wily Werewolf), can install snap from the Ubuntu Software Center by simply searching snapd.
You can also install snap via terminal. Just execute the following command on your terminal.
sudo apt update
sudo apt install snapd
Restart your system to make sure that you have updated the path correctly. This marks the installation of snap on your Ubuntu machines. Now let’s move on to How to install Minecraft using snap on Ubuntu.
Installing Minecraft
Step 1 – The snap makes it much easier to install Minecraft as you can install it via a single command.
sudo snap install mc-installerthe above command will install Minecraft on your machine.
Step 2- To launch Minecraft simply execute:
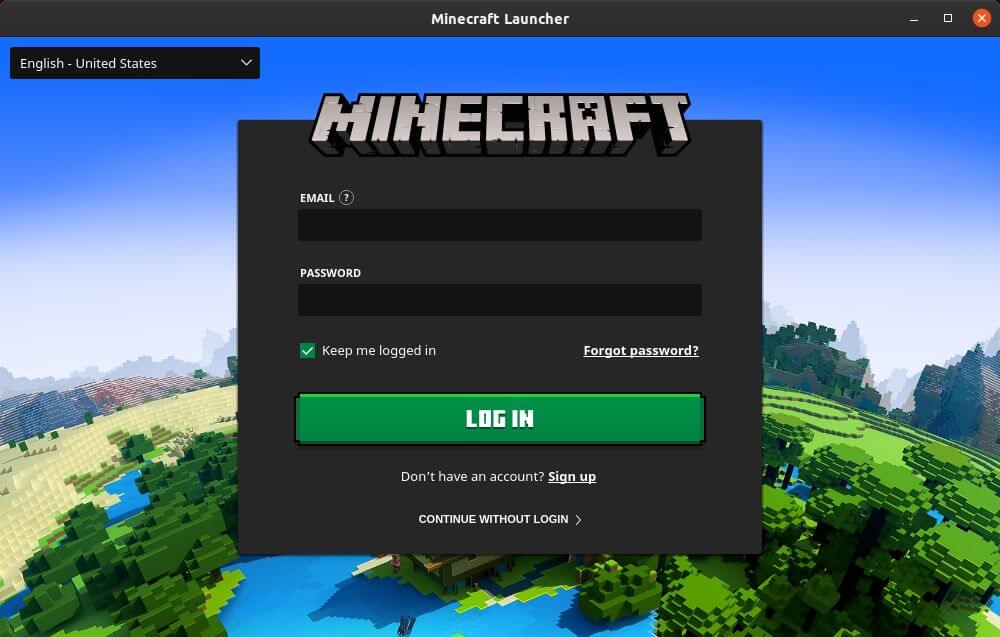
minecraftStep 3 – Log in and enjoy the most buzzed game of this decade.

Uninstall Minecraft
For Terminal Users
Step 1 – To uninstall the Minecraft package, execute the following command in a terminal,
sudo apt --purge remove minecraft-launcherStep 2 – After you have run the above command, you may be asked to confirm whether you want to proceed with the removal process. You will be prompted to press y in order to continue. After that, Minecraft will be removed from your computer. To remove all the additional files and other information related to Minecraft, type the following command in the terminal.
rm -r ~/.minecraft/For snap users
Step 1 – To uninstall the Minecraft snap package execute the following command in your terminal.
sudo snap remove mc-installerStep 2 – Now simply remove all the log files. The command will be the same as of removing Minecraft(.deb) files which is
rm -r ~/.minecraft/Wrapping Up
This tutorial explored different methods to install Minecraft on Ubuntu, Debian, Linux Mint, and Ubuntu-based Distributions such as Elementary OS, Pop OS, Zorin, and many more. By following the simple steps in this tutorial, you can play Minecraft in a couple of minutes.
If you encounter any issues, share them in the comments section, and I would be more than happy to assist you.
I have also shared the steps to delete or uninstall Minecraft from Ubuntu or other Linux distros, just in case you need it. Subscribe to our weekly newsletter to get similar posts straight to your inbox. We hate spamming too!

